Note
Access to this page requires authorization. You can try signing in or changing directories.
Access to this page requires authorization. You can try changing directories.
Through the Model Context Protocol (MCP) server, AI systems can discover and interact with external tools in a structured way, extending beyond their own data and reasoning. Ontology (preview) can function as an MCP server, exposing an API so that external AI systems can interact with it through the MCP protocol. This capability helps integrate ontology into AI workflows.
Important
This feature is in preview.
Note
Due to a known issue, you can't currently use Service Principal to access the ontology MCP.
Prerequisites
Before using ontology as an MCP server, make sure you have the following prerequisites:
- A paid F2 or higher Fabric capacity, or a Power BI Premium per capacity (P1 or higher) capacity with Microsoft Fabric enabled.
- Users can create ontology (preview) items and Users can create Fabric items enabled on your Fabric tenant.
- An ontology (preview) item
How it works
To create the MCP server endpoint, you need the URL of your ontology (preview) item.
To find the URL, follow these steps:
Open your ontology item in Fabric.
View the URL in the browser, in the format
https://app.fabric.microsoft.com/groups/<workspace-ID>/ontologies/<ontology-item-ID>.Copy the values of
<workspace-ID>and<ontology-item-ID>from the URL.
Form the MCP server URL by entering the copied values into this string:
https://api.fabric.microsoft.com/v1/mcp/dataPlane/workspaces/<workspace-ID>/items/<ontology-item-ID>/ontologyEndpoint.

You use this MCP server URL in the next section.
Setting up the MCP server in VS Code
Open VS Code and select a folder to work in.
Inside this folder, create a folder named .vscode.
Inside the inner folder, create a file called
mcp.json.VS Code automatically displays a blue Add Server button at the bottom right of the window.

Select Add Server and select HTTP. You're prompted to enter a URL. Use the MCP server URL that you copied in the previous section.
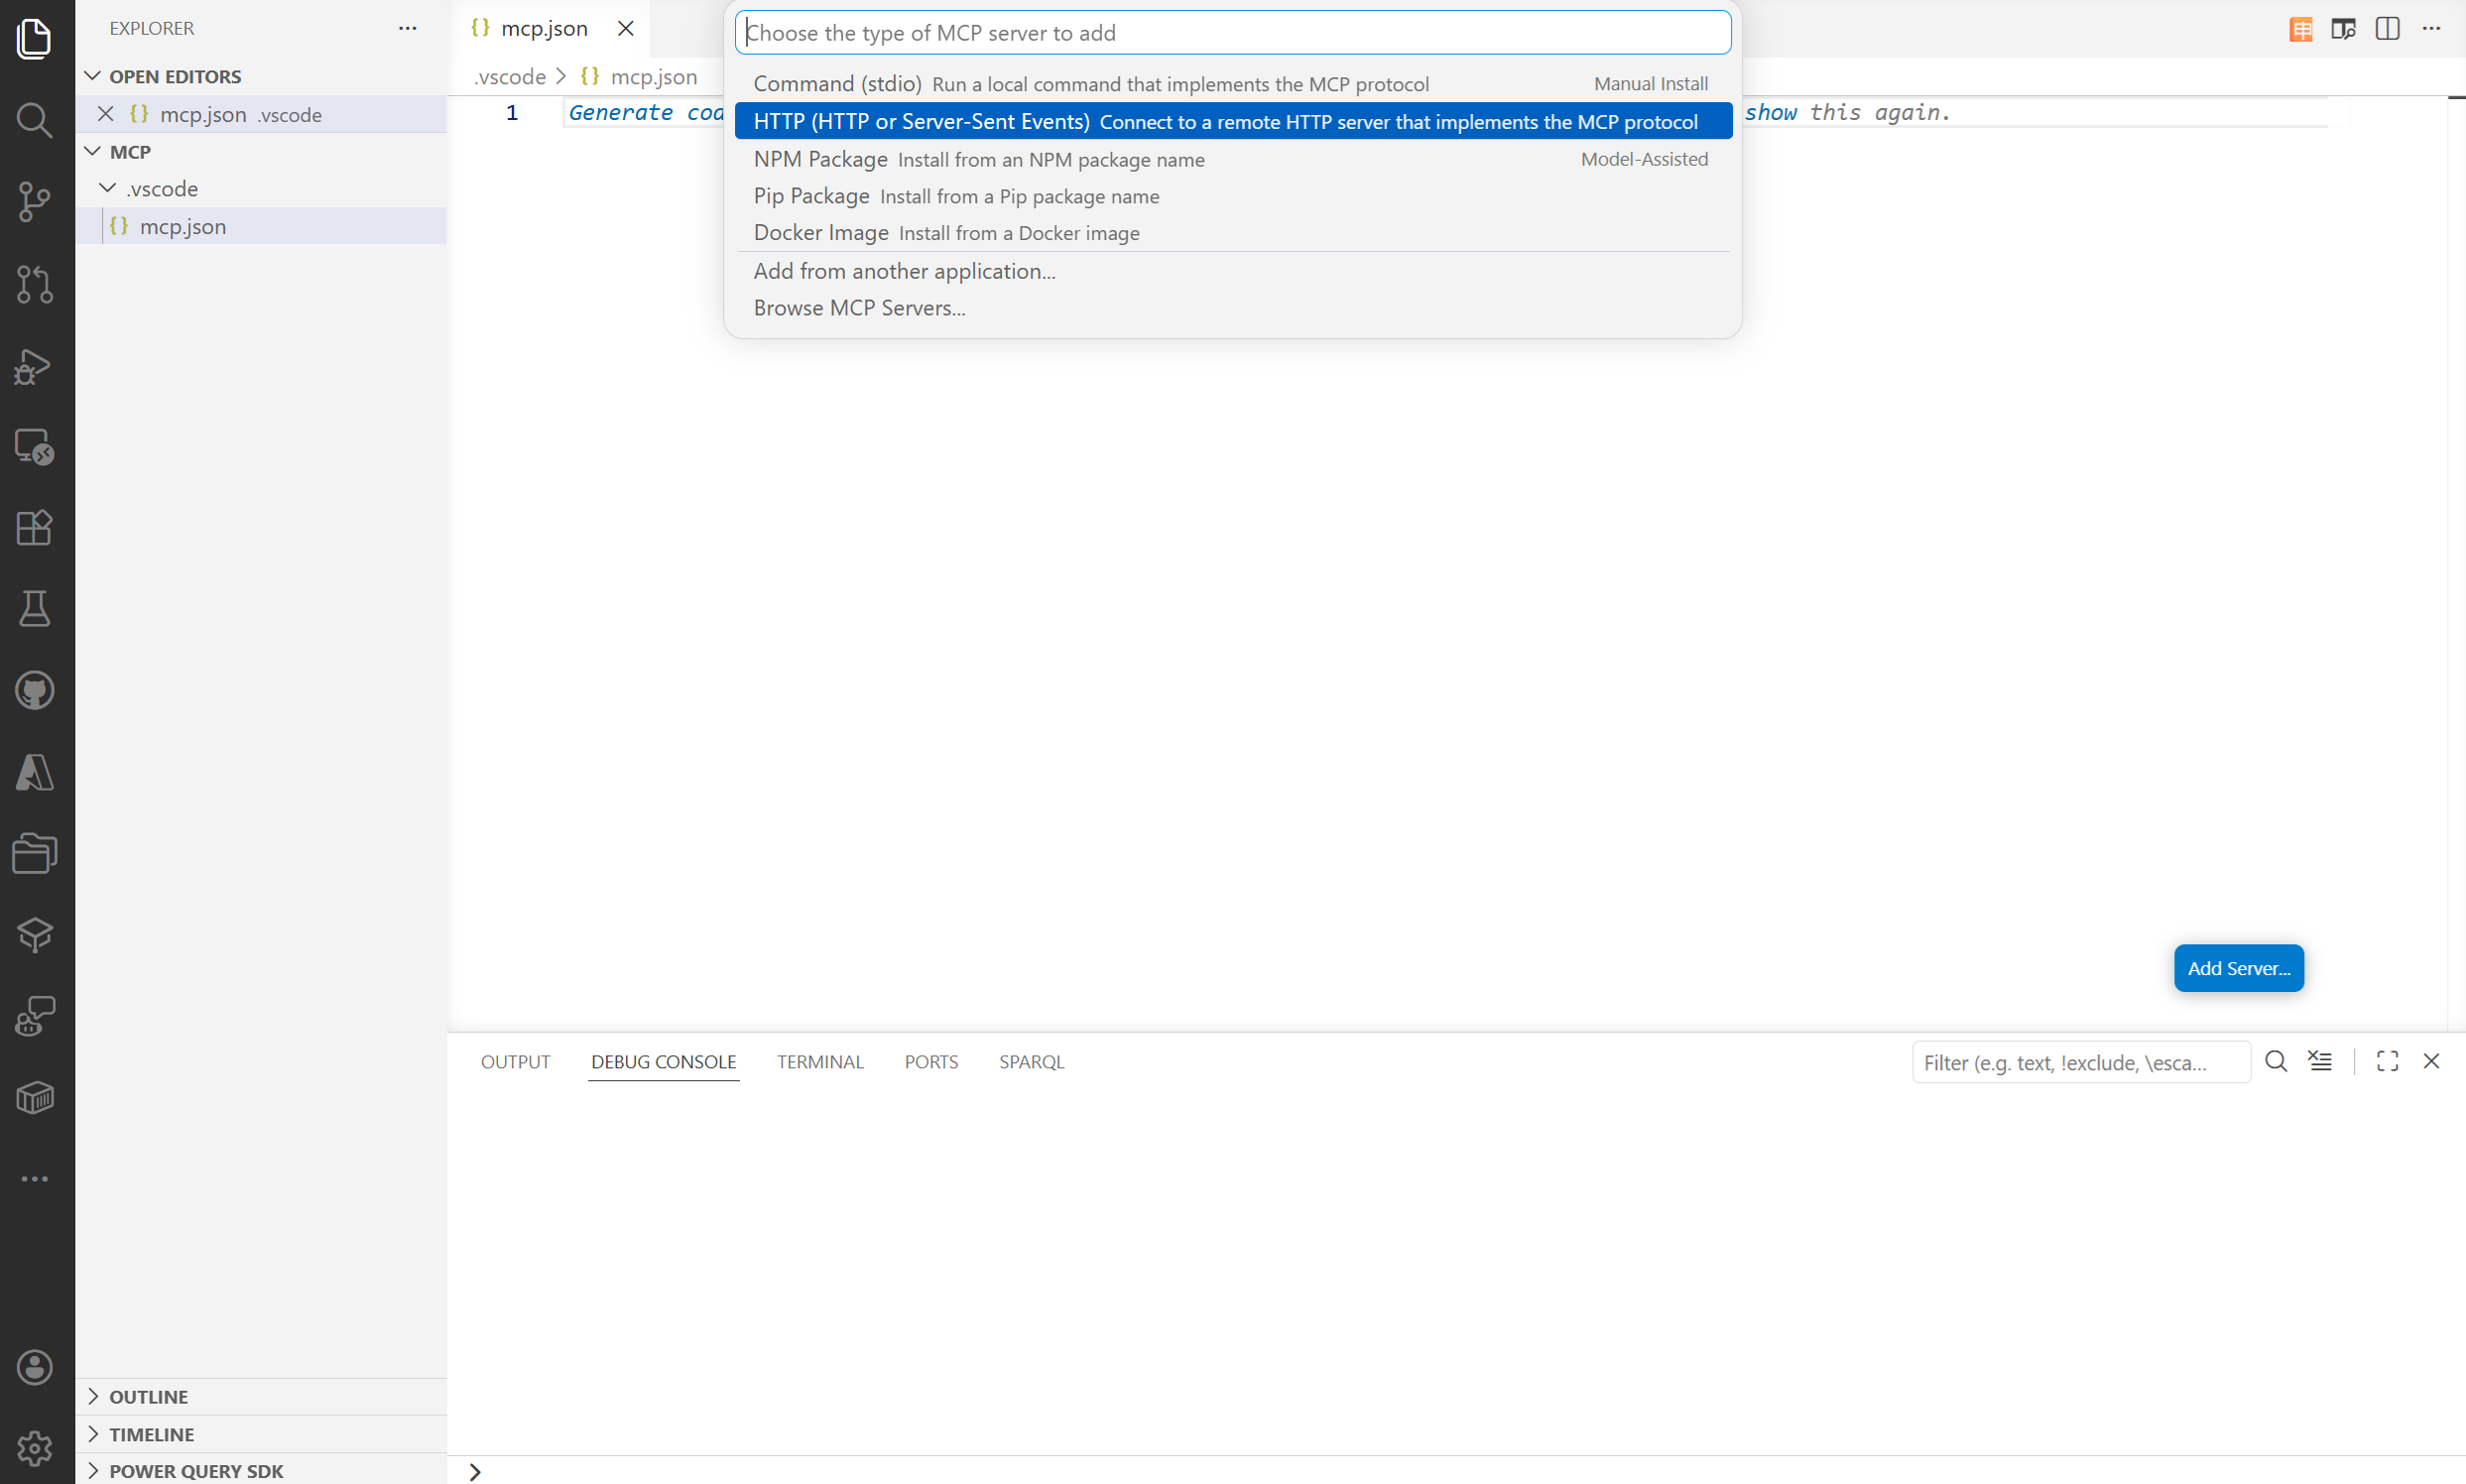
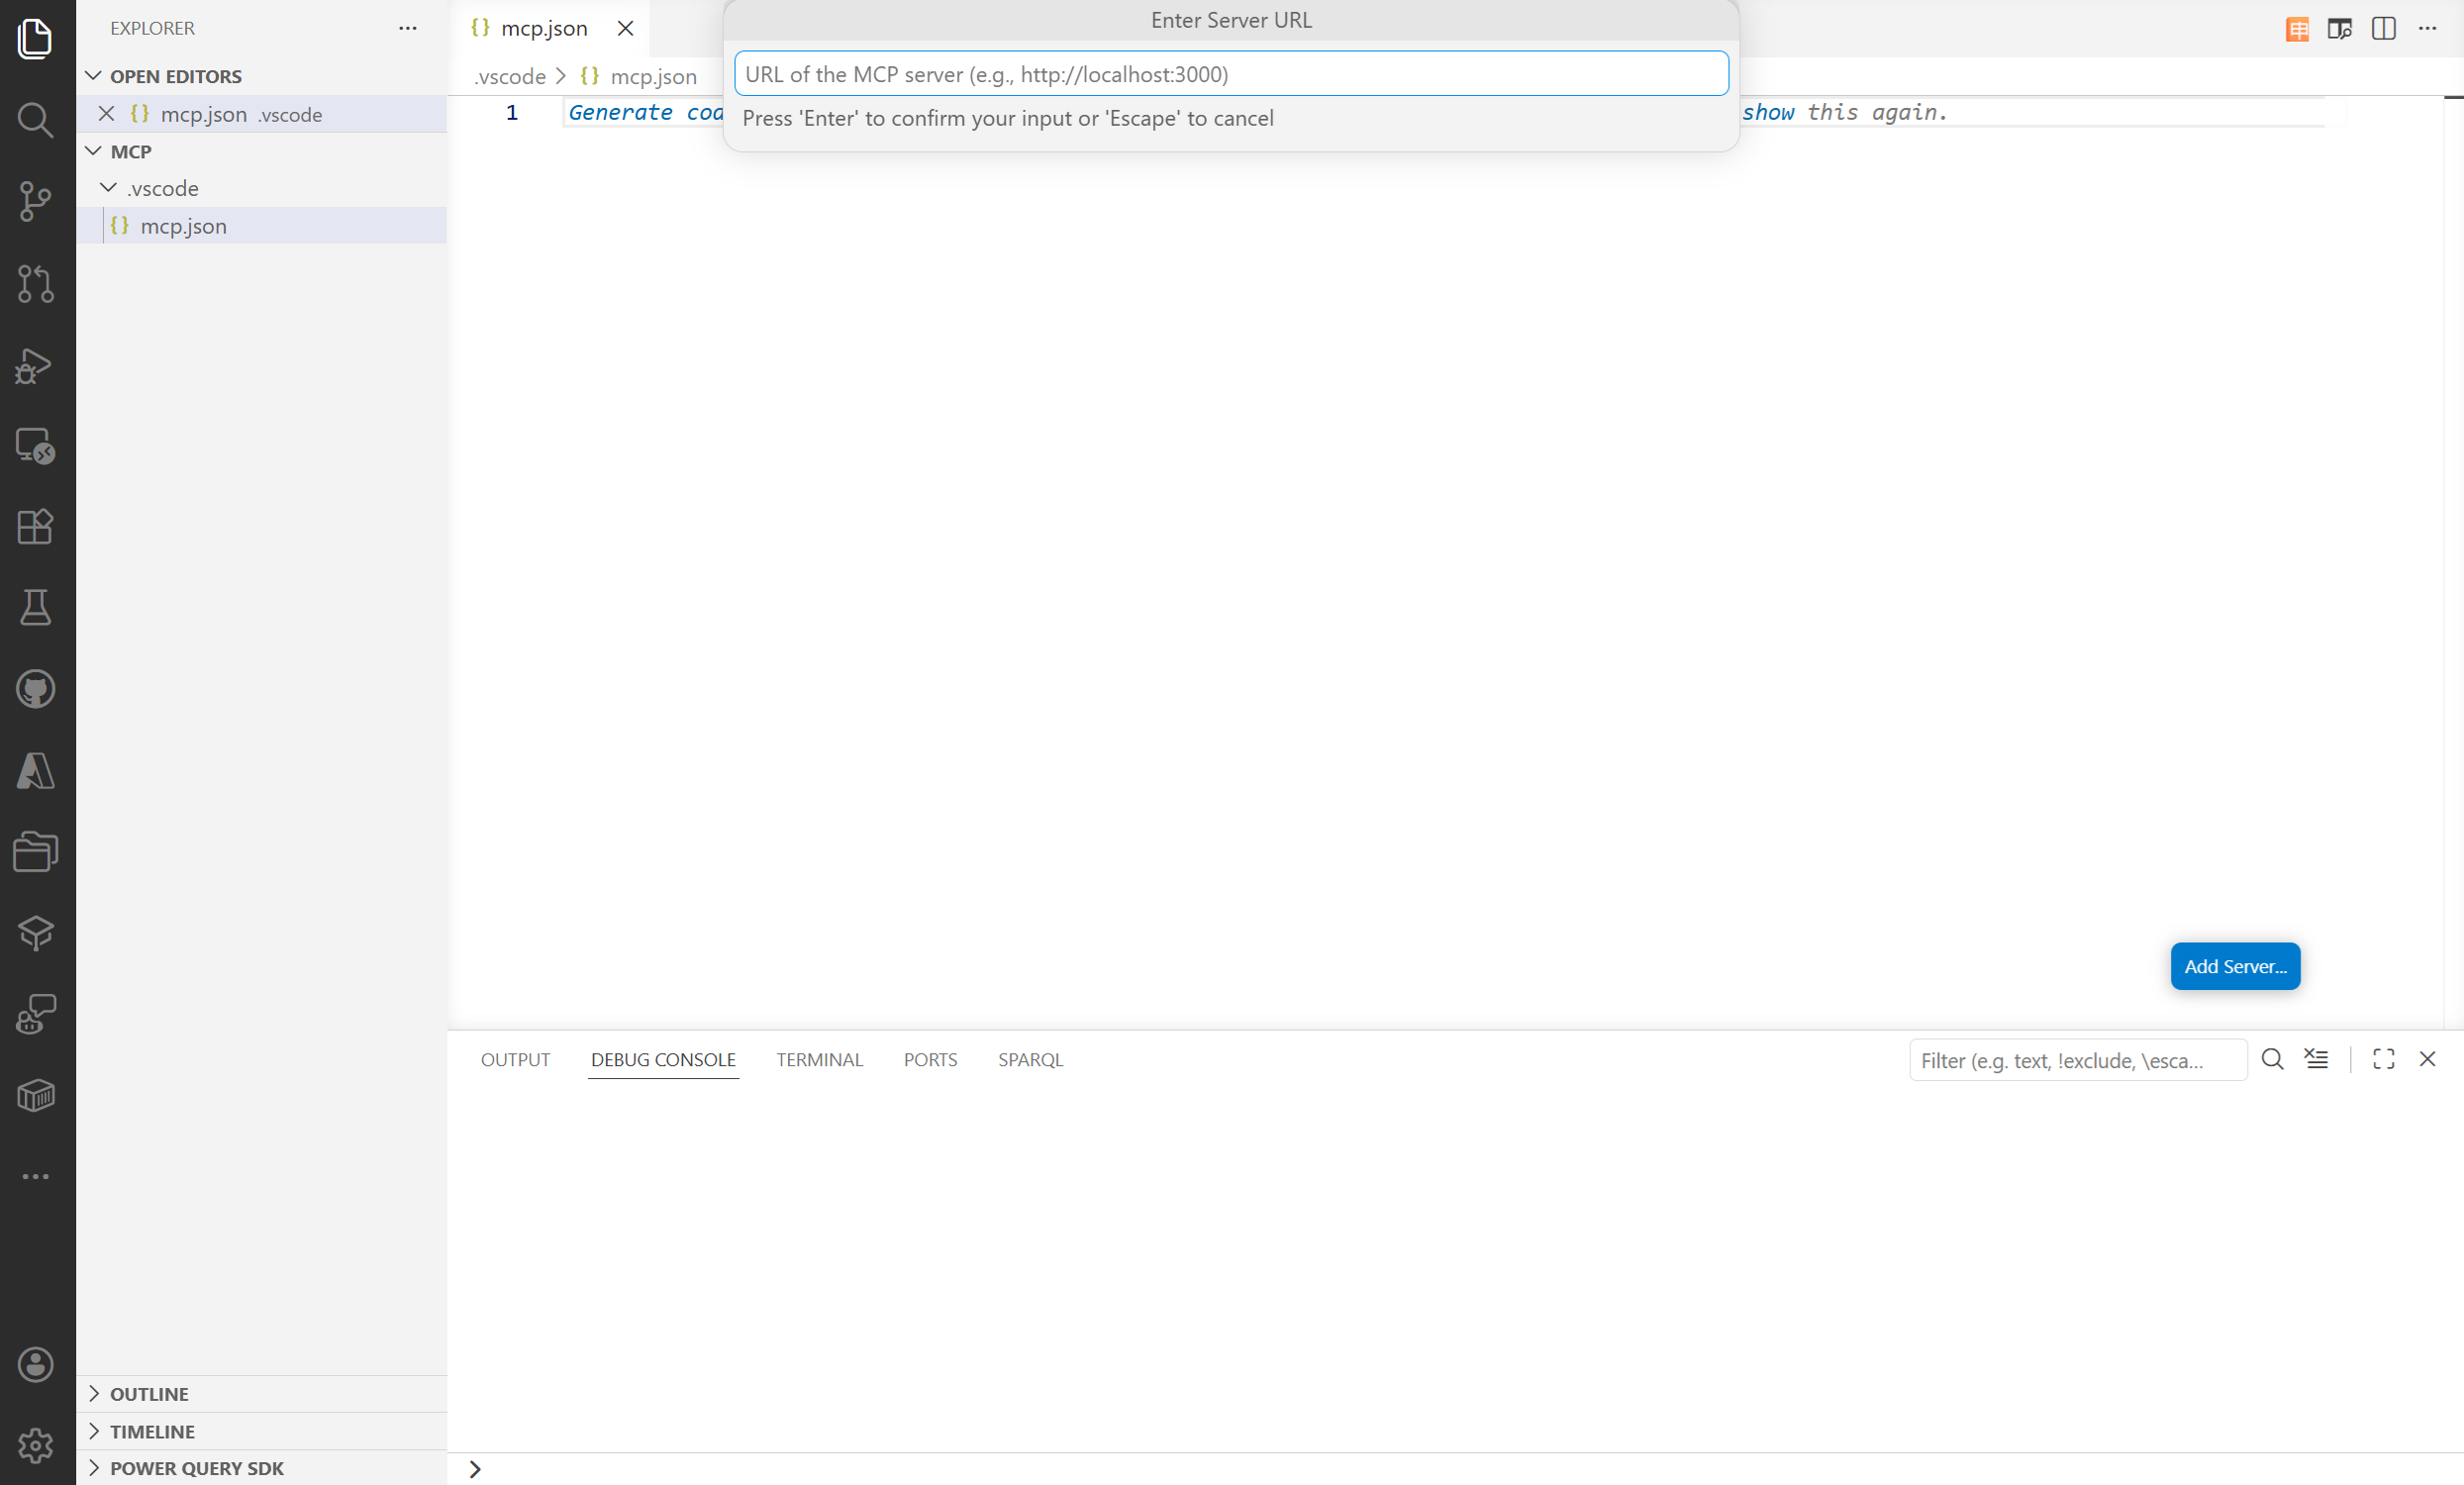
Press Enter and provide a name for your MCP server. Use this name to display the MCP server in your VS Code environment.
VS Code attempts to authenticate with the server. Select Allow and sign in with your credentials.

The server is created.

Enable agent mode
After adding the MCP server, enable Agent Mode in Visual Studio Code. In agent mode, VS Code acts as an orchestrator interface that connects your editor with MCP servers to interact with external tools like ontology. To enable it:
In VS Code, open chat (Ctrl + Shift + I).
Start the MCP server.

Confirm that the server is running. Then, enter any prompts to activate the mode.

When agent mode is active, select an orchestrator to handle your queries. Available orchestrators in public preview include GPT-5, GPT-4.1, Claude Sonnet 4.5, Gemini 2.5 Pro, and many more. The orchestrator manages the flow of information between your queries in VS Code and the ontology MCP server.

